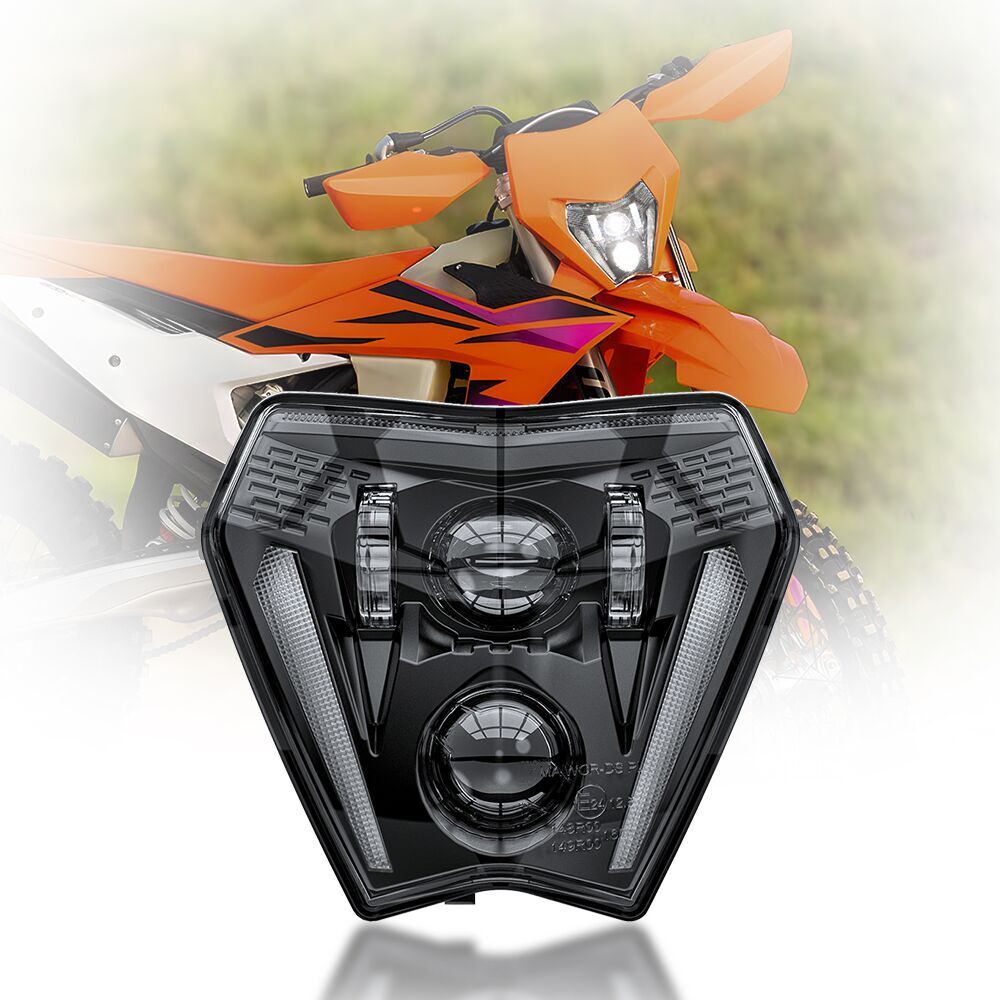
Is your KTM’s rear end cluttered with bulky stock turn signals? An integrated tail light is a popular and sleek modification that cleans up your motorcycle’s aesthetics by embedding the turn signals directly into the brake and running light housing. This guide will walk you through the process.

What is an Integrated Tail Light?
An integrated tail light is an aftermarket unit that replaces your stock tail light. Its primary function remains the same—acting as a brake light and running light. The key upgrade is the addition of built-in LED turn signals, which illuminate in a sequential or flashing pattern, eliminating the need for separate, stalk-mounted signals.
Benefits of Upgrading
-
Cleaner Look: Removes the “bug antennae” appearance, giving your KTM a more streamlined and modern tail section.
-
Improved Visibility: Often features brighter, more advanced LED patterns that can make your signals more noticeable to drivers behind you.
-
Reduced Risk of Damage: Integrated lights are less likely to be broken in a minor tip-over compared to protruding stock signals.
What You’ll Need
-
Integrated Tail Light Kit: Ensure it’s specifically designed for your KTM model (e.g., KTM 390 Duke, 790 Duke, 1290 Super Duke R).
-
Basic Tool Kit: Typically including hex keys, screwdrivers, and sockets.
-
Electrical Connectors: Many kits are plug-and-play, but having some Posi-Tap connectors or solder and heat shrink tubing on hand is wise.
-
Zip Ties: For securing any loose wiring.
-
Painter’s Tape: To protect surrounding bodywork from scratches.
Step-by-Step Installation Guide
Warning: Always disconnect the negative terminal of the motorcycle’s battery before beginning any electrical work to prevent short circuits.
Step 1: Remove the Seat and Tail Fairings
Start by removing the seat. Then, carefully locate and remove the bolts or screws holding the tail section plastics in place. Gently pry the fairings apart. Refer to your owner’s manual or a model-specific forum for precise disassembly instructions, as this varies greatly between KTM models.
Step 2: Locate and Disconnect the Stock Tail Light
Once you have access, you’ll see the back of the stock tail light. Disconnect the electrical plug connecting it to the motorcycle’s wiring harness.
Step 3: Remove the Old Tail Light and Turn Signals
Unscrew the stock tail light from its mounting points and set it aside. Now, also unscrew and remove the factory turn signals from the tail section.
Step 4: Install the New Integrated Light
Mount the new integrated tail light into the same location as the stock unit, using the provided hardware. Connect the main plug from the new light to the motorcycle’s factory tail light harness. This will handle the brake and running light functions.
Step 5: Connect the Turn Signal Wires
This is the crucial part. Your new light will have two additional wires (usually for the left and right turn signals). You now need to connect these to your bike’s existing turn signal wiring.
-
Locate the Wires: Find the two wires running back from the motorcycle’s main harness that previously powered the left and right rear turn signals.
-
Make the Connections:
-
Plug-and-Play: Some premium kits include adapters that plug directly into the factory ktm led indicator connectors.
-
Manual Connection: If not, you’ll need to splice the wires. Connect the integrated light’s left-turn wire to the bike’s left-turn signal wire, and the right to the right. Use Posi-Tap connectors for a clean, tool-free connection, or solder the wires and insulate them thoroughly with heat shrink tubing. This is the most reliable method.
-
-
Secure the Wiring: Use zip ties to neatly secure the new wiring away from moving parts or hot surfaces.
Step 6: Reassemble and Test
Before putting all the plastics back on, reconnect the motorcycle’s battery. Turn on the ignition and test all functions:
-
Running Light: Should be on with the ignition.
-
Brake Light: Should get brighter when you press the front lever or rear pedal.
-
Turn Signals: Should flash in the designated pattern. Don’t forget to check the dashboard to see if the hyperflash (rapid blinking) has occurred.
Step 7: Final Reassembly
Once you’ve confirmed everything works perfectly, disconnect the battery again and carefully reinstall all tail fairings and the seat in the reverse order of removal.
Troubleshooting: Dealing with Hyperflash
If your turn signals blink very fast after installation (hyperflash) like Industry Mag, it’s because the motorcycle’s flasher relay is designed for the higher power draw of incandescent bulbs. Your new LED lights draw much less power, confusing the system.
The Fix: You need to install an LED-compatible Electronic Flasher Relay (also called an “LED flasher module”). This is a simple, plug-and-play part that replaces the stock relay, usually located under the seat or tank, and will restore a normal, steady flash rate.
By following these steps, you can successfully add an integrated tail light to your KTM, giving it a custom, high-tech look while maintaining or even improving safety. Enjoy the cleaner lines and the satisfaction of a job well done